Showing posts with label CC Art Philosophy. Show all posts

Thursday, April 18, 2013

Blue's Clues Birthday Party - The Treats!

To wrap up the Blue's Clues party, here are the treats that I made with help!

First off, I purchased # 3 molds and lollipop sticks from Etsy.
I LOVE Etsy! I got a lot of stuff for the party from there!
And then as you can see, I made the #3 chocolate lollipops!
My oldest daughter helped with making these.

Before I got in the "rhythm" of making the chocolate lollipops
in bulk, I melted chocolate while the molds were still freezing
a previous lollipop batch. I panicked, so I got out some
pretzel rods to use up the melted chocolate! Turned out to
be a good panic. The party guests dug the dipped pretzels!

For the next edible craft, I dug out my BRAND NEW Cricut
Cake machine and made paw prints out of gum paste.
Previously my oldest daughter had the Cricut Cake Mini,
but at some point I was able to snag the large model
for $50 brand new. I did some research thanks to Pinterest and
got a lot of great tips on using the Cricut Cake for this project
and it worked very well. No problems!

My daughter and her friend attached the little paw prints to our
white-chocolate covered Oreos! I used circles from one of my
Cricut cartridges (Art Philosophy, I think?) because the actual
Blue's Clues paw prints from the show are more circular. The
circles were all laid out on my Gypsy, which worked out great.

Here are the Blue's Clues White Chocolate covered Oreos!
They're a little imperfect, but still looked good & tasted yummy!

The night before the birthday party, I had the
guests of honor overnight so I put them to work, too!
They made Blue's Clues sugar cookies!

Ok, so they ate the cookies that they decorated
which left me with decorating the rest, but it was
so much fun making the cookies with the boys!


Our finished Blue's Clues Cookies!

And the packaged #3 lollipops complete
with a "thank you for coming" tag!

 
I can't take credit for the cakes, but thought I'd show
them in this post. My cousin made them using a
Blue's Clues pan. They turned out AWESOME!

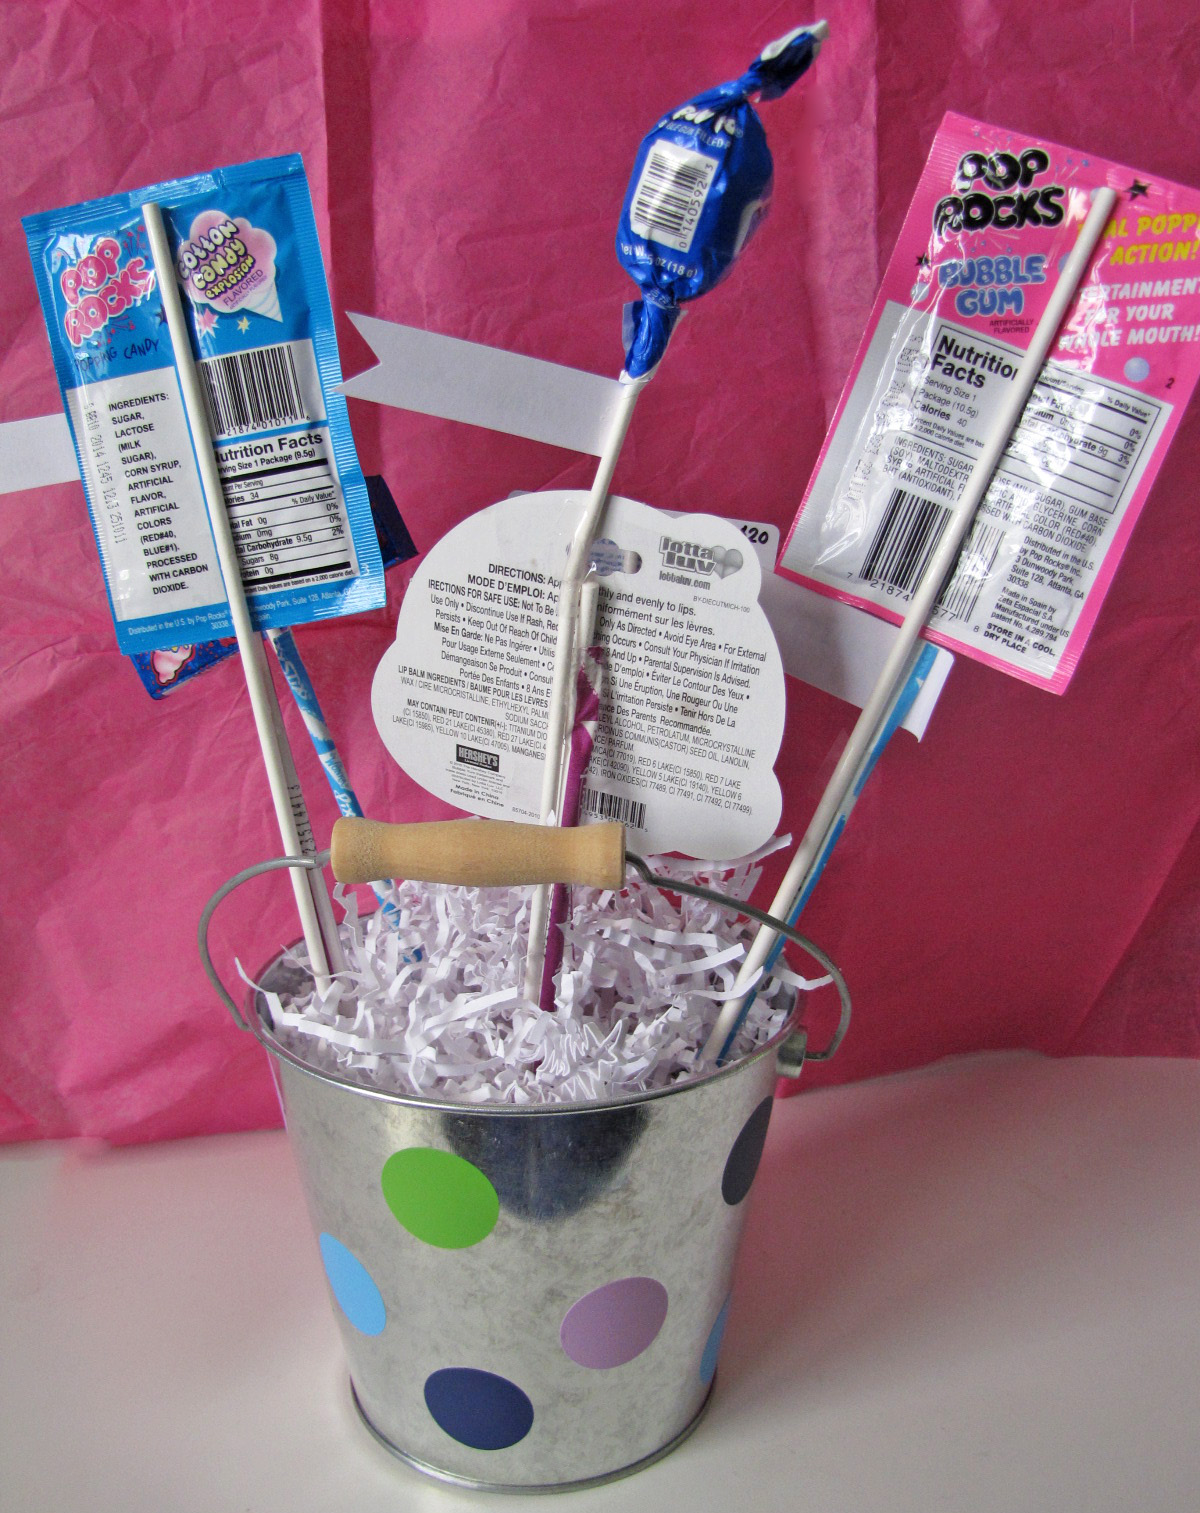
And here is the table at the party with the packaged
goodies on it!I got the blue pail & bucket at the dollar store
and personalized them with vinyl. I used Zoo Day for
the boys' names and "is," and then Birthday Bash for the
# 3. I wanted the 3 to be a bit more perfect so it was more
easily identified by the birthday boys. I figured that their
mom can use these buckets to hold small toys or
miscellaneous stuff in their rooms after the party.
 
 
So that's it for crafting and this party. I had so much fun with this theme! I wasn't crazy about the theme when I first heard about it, though. I thought for sure it would be Thomas the Train since the boys love that! And since Blue's Clues the show was canceled back in 2006, it was harder to get things. But, once I started doing some research (thank you Pinterest and Etsy!!), I got REALLY into Blue's Clues. I tend to do that, though, with the parties I craft for. My room seems so bare now without all of the blue -LOL!
 
Thanks for visiting!

Sunday, January 27, 2013

Basketball Tournament Decorations

This weekend was my daughter's basketball tournament at her school! The parents provide the decorations, so my Cricut and I helped out by making a banner, basketballs, and locker decorations!


Tuesday, April 24, 2012

An Absolutely FAB-ulous Manicure Birthday Party!

HI! Remember me?? So sorry I've been away for so long my fellow crafters. I have been crafting, but life has been a bit crazy lately so I haven't had the time for posting. Hopefully the summer will get better for me to get back into the swing of things. Until then, my posts may be scattered. Please bear with me! :)

I've had a few birthday parties lately that I've been crafting for. The most recent was my younger daughter's manicure birthday party.

Here are some photos from it:

The 3D Nail Polish Invitations!
I got this idea from the following :


The party info side

I used the Cricut Forever Young cartridge for the
nail polish bottle and Quarter Note cartridge
for the lettering throughout the party.

The 3D invite in action!
That's a Q-tip for the polish applicator!

These cupcakes were made by my work friend's mom.
They truly were absolutely FAB-ulous!!
I didn't have any left after the party!

I made cupcake toppers for all of the
DE-lish cupcakes to match the party theme.
The stamp is from Scrappy Moms'
"Sweet Somethings" stamp set.

The sparkles on the cupcakes happen to match
the sparkles on the nail polish bottle top! LOVED that!

The birthday girl requested a banner from me after seeing
the ones I made for my 2-year old twin cousins recently.
I will post those party details hopefully soon!

I used the Cricut Black & White Imagine cartridge
to make all of the zebra-patterns for this party.
Worked out really well!

I hung 3 nail polish bottles from the banner.
I thought these could easily be removed when
the banner becomes a permanent fixture in
my daughter's room if she so desires.

Had to add in the absolutely Fab-ulous stamp
again from Scrappy Moms!

Ahh, the favors. I spent the most time on these little babies.
I used the Forever Young cartridge again for the purses.
And as recommended by a crafty co-worker,
I used velcro as closures on the purses- worked great!

All 13 purses!

Each purse was personalized with a tag
thanking each guest for coming. Also,
the guest's initial was on the back of the purse.

The contents of the favor purse: nail polish (of course!), 
a mini nail file, a Bath & Body Works Pocketbac
(hand sanitizer), a Charms Blow Pop,
and a few pieces of Bazooka bubble gum.
I used to love the comic that came with each Bazooka
piece when I was a kid, and now my girls love them!

Here's a close-up of the bling! I used gun metal & magenta 
Stickles, but then I ended up adding the stick-on gems later.
It needed more BLING!! I added a mini glue dot
behind to make sure they stuck to the glitter glue.

Here's a view of the initial side of the purses.

Here is my daughter opening presents while her guests
enjoyed the cupcakes at the fabulous little nail place near us,

There's the birthday girl with her banner behind her!

Here are the spoiled pre-teens getting pampered!
Cosmos was decorated so nice for the upcoming Summer season.

And here's the gang showing off their
freshly manicured nails!
This is one side of my postcard-style thank you note.

Here is the other side of the thank you.
I had a photo with the birthday girl and the guest,
and then the girl getting her nails done.
And then I did a simple nail polish bottle as embellishment.
Thank-yous - DONE!

Thanks for popping by! Happy crafting all!!

Saturday, March 31, 2012

Personalized Candy Bouquet Using Scrappy Moms' Spring Fair!

Wow! The last day of March is already here! I'm sad to see my month as the Scrappy Moms guest designer end. It was so much fun! I will be drawing a winner for my giveaway tomorrow 4/1, so if you have not got in it, click HERE!

To end my guest designer spot, I have one more project using Scrappy Moms' latest stamp set, Spring Fling - a candy bouquet!

This was made for my oldest daughter's BFF.
She just had a bedroom makeover so her name and
dots on the bucket match her new room colors!

She loves Bath & Body Works,
so we got her a gift card there.

I personalized the gift card with the help of my PC
and made it the focal point of the candy bouquet.

I added candies with a bubble gum or a
cotton candy theme (or both) to match the
gift card, and as a fun way to utilize the new
Scrappy Moms Spring Fair stamps!

Pixy Stix were added to the lollipop sticks
in case this girl didn't get enough of a
sugar rush from the other candies - LOL!

Another Spring Fair sentiment!

And another!

I used vinyl and my Cricut to personalize the bucket.

The back had more polka dots in the
 gift recipient's bedroom colors.


Supplies:
  • Cricut Car Decals cartridge font for name
  • Cricut Art Philosophy for circles
  • Vinyl in lime green, navy blue, sky blue and light purple from expressionsvinyl.com
  • Pail from Michael's
  • White shred from our local dollar store
  • Wilton lollipop sticks from Michael's
  • Styrofoam inserts from the local dollar store to hold sticks
  • Candies: Pixy Stix, Pop Rocks, Blow Pop and Bubble Yum gum 
  • Bath & Body Works gift card
  • Bubble Yum lip balm purchased from Michael's($1)
  • PC to make hot pink square and Happy Birthday Ellie! greeting (Sorry- I can't remember the font! I spent a lot of time trying to match the Bath & Body Works logo, though! :))
  • Scrappy Moms' Spring Fair stamp set
  • Scrappy Moms' Hooray for Birthdays stamp set
  • Stampin' Up Basic Black ink
  • White cardstock from scraps cut into flags
I have more to share from this birthday party- a chocolate-themed one! I helped the mom make favors and I also redesigned the pinwheel centerpiece that I made earlier this month (shown HERE) to match the later-chosen colors of the party. I will post that as well.
 
Thanks for poppin' by!
 

Wednesday, March 14, 2012

March Madness (Part 1)!!

IT'S MARCH MADNESS TIME, BABY!!!

Yeah, I'm not usually that excited about basketball. But THIS year, my daughter's 7th/8th grade team made it to March by being selected to participate in the State tournament!! It was AWESOME!!! So as promised, here is the first project I'd like to share from it.

Of course I made stuff for the girls, but this was the ultimate time for us MOMS to show off our daughters! So, I made each of the moms a pin to wear!!

Here they are:
The moms of all 10 players got a pin!

Here are the 8th grader pins
complete with name, number, and photo!

And here are the 7th grader pins!
I have quite a fondness for # 35 . . . :)

A little side close-up view of them! Rosettes are all the rage
now, so I thought they would be perfect for the mom pins!

Supplies:
  • Cricut Imagine Bubblegum Stripes cartridge to print paper for Rosettes
  • Cricut Art Philosophy cartridge for the white scallop backing the photos
  • Cricut Sports Mania cartridge for mini basketballs
  • Cricut Birthday Bash cartridge for letters and numbers
  • Photos of each girl then punched out with a 1 1/2 inch circle punch
  • Textured basketball paper for mini basketballs (purchased at JoAnn by the sheet)
  • Recollections Black cardstock for basketball shadow
  • Recollections blue paper to mat a couple of the girls that had white backgrounds
  • White Georgia-Pacific cardstock for scallops
  • Blue Darice self-stick holographic paper for letters and numbers (purchased at JoAnn by the sheet)
  • White satin ribbon
  • Blue glitter ribbon purchased from Michael's
  • Hot glue gun and glue sticks to adhere the rosette
  • Glue dots for basketball
  • Foam dots for behind the photos for added dimension
  • Adhesive-backed pins purchased from Michael's Jewelry section
Don't they remind you of blue ribbons you would win at the fair? They did for me, but I didn't see a way around it given that the school colors are blue and white. I got rave reviews from the moms and many others, so that made me happy.
 
I did learn a lot from making these pins. It's quite different to make a paper craft that will be worn for a few days at a time. By day 2, I packed an "emergency repair kit" that included glue dots, scissors, extra pins, extra letters and numbers. Unfortunately moms were starting to lose letters or numbers, the white satin ribbon was fraying on the sides, a pin's clasp broke, etc.- Yikes!! Repairing kept me busy while waiting for our pizza after game 3's win. It takes a while when a whole team with parents and siblings order yummy deep dish!
 
One last thing: I decorated my frame in my office for the big State event, which also holds my pin for now:
 
 
I put chalkboard vinyl from Expressions Vinyl on the frame's backing and used a white Pentel Wet Erase chalk marker to write. The die cut eagle was on the wall at our school's bball tournament back in January, which I took several of when we cleaned up! I couldn't let all of those eagles just go in the trash! The younger grades had decorated them so beautifully after all! :)
 
I will be back with another State project soon. I also have a very big Scrappy Moms weekend coming up- WOOHOO!! Have a great remainder to your week!!